Sunday, November 13, 2016

Replacing Mazzer Super Jolly timer with on/off switch

For several weeks my Mazzer Super Jolly Grinders timer would intermittently go out and prevent the grinder from turning on. No good for a coffee business. (Hey, if you don't know what you are doing don't make this modification. Ask for help from a professional. I have no electrical background but I own the equipment that I'm working on. If it didn't work I wouldn't write about it). ALSO, I've had to make this modification to all of my grinders... 

This is not the first time the dial had to be replaced and if you are reading this you know that the cost of replacement is too high for more than once.  $82 bucks is just too much.
Mazzer Espresso Grinder Timer
Headed to my local electric supply store to find out if there was a on/off switch that could be used instead. This cost me $10.02 with no shipping.
This part will do the job. (I don't get paid from the above companies, I'm just telling you where I got the parts from)


Remove the dial and plate from the grinder with flat head screwdriver.


Remove the bottom plate to access the timer.


Carefully pull the timer out.


Label the original sleeves - 1, 2, 3, 4
you will remove each quick connect sleeve
place each sleeve on the corresponding connections


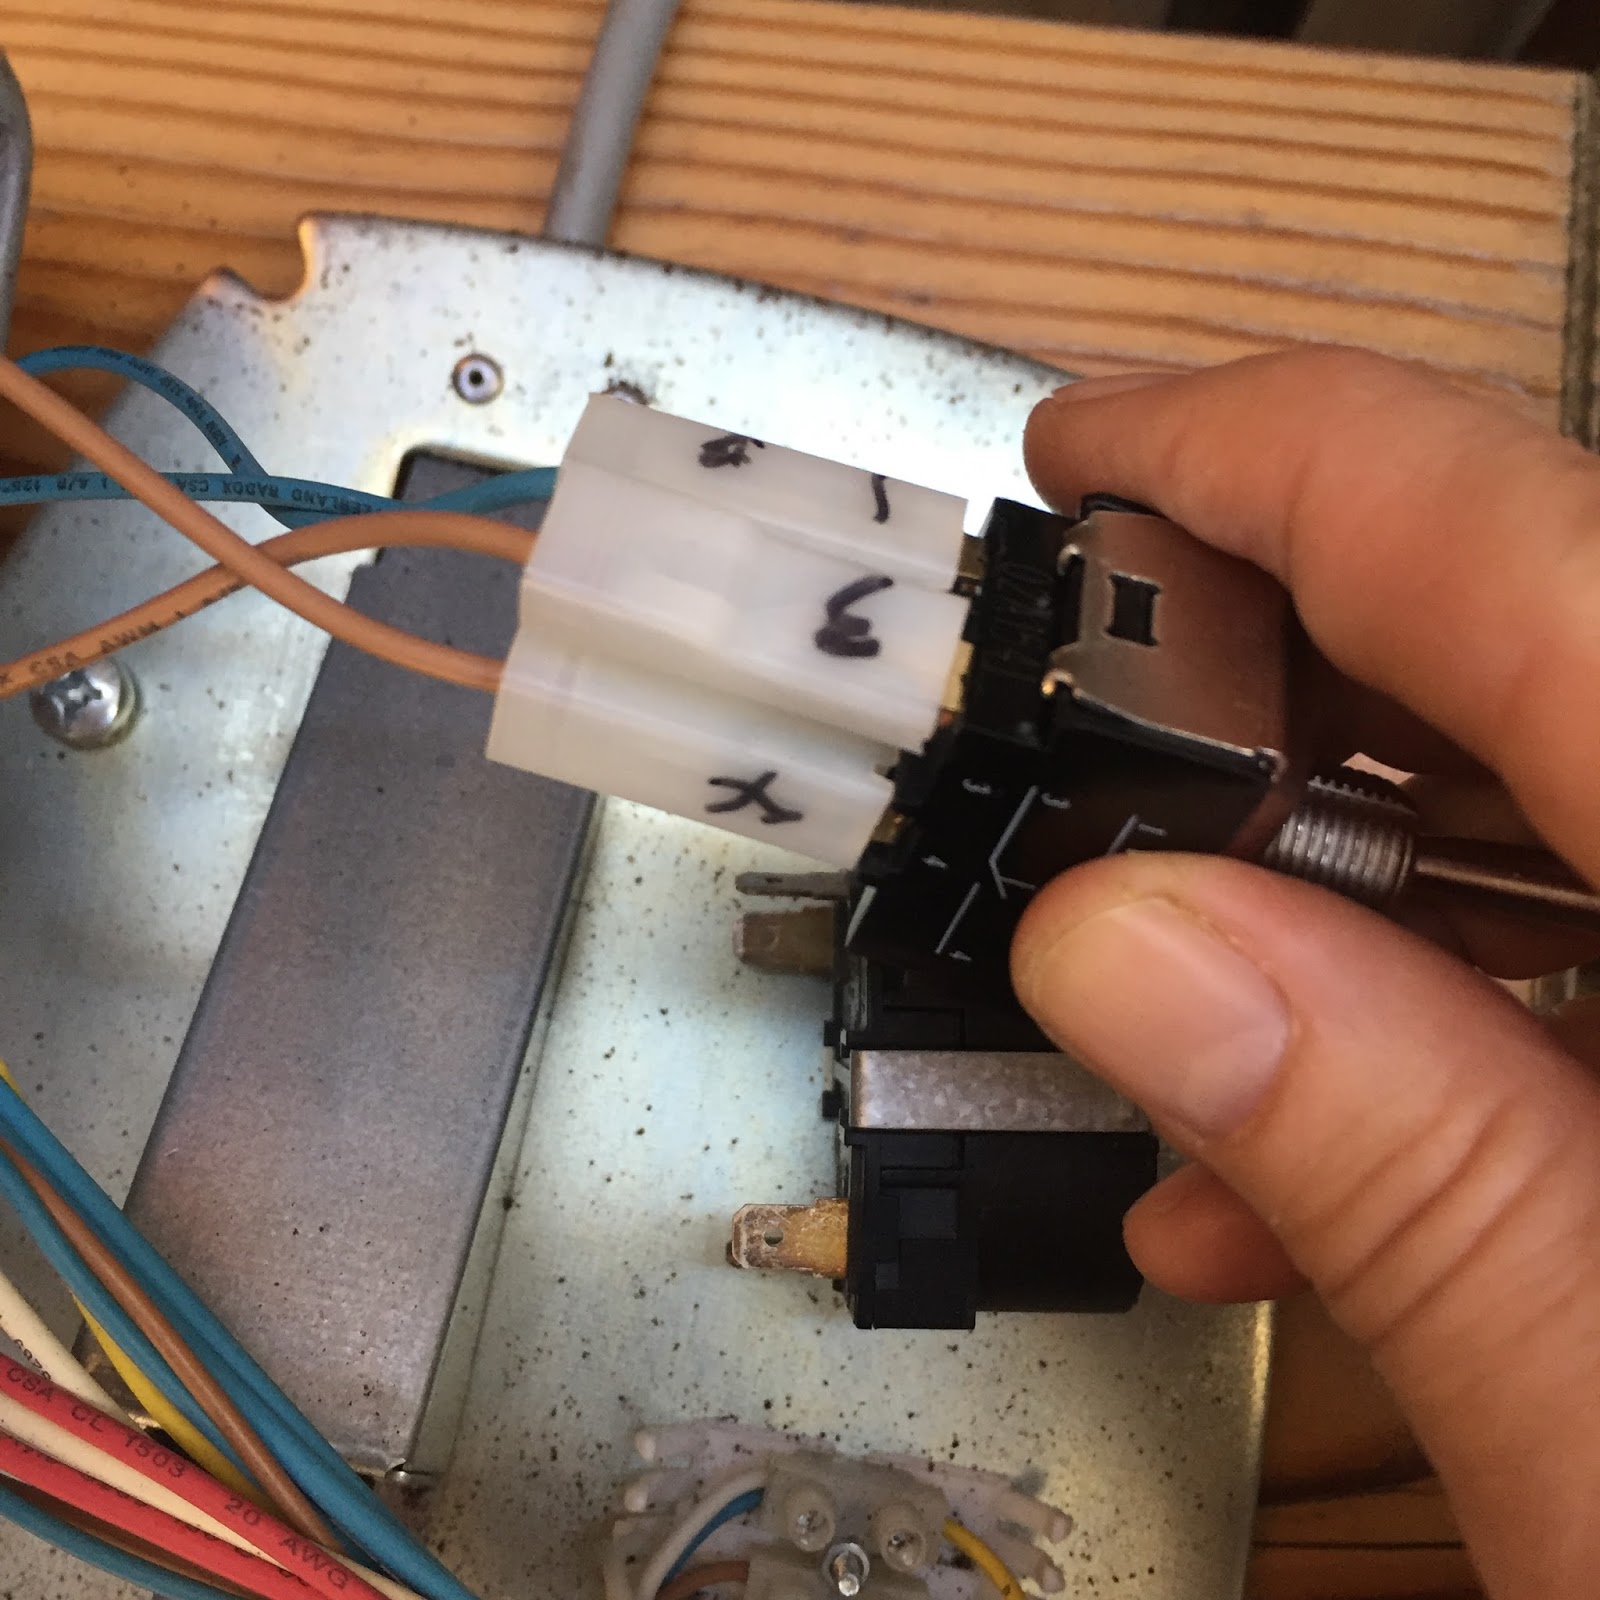
All quick connect sleeves should be on the new toggle switch now.


Remove the bolt from the toggle switch.


I had to drill out the hole for the toggle switch. (there may be a switch with a smaller thread but this is not something that I thought about. I felt that this was an easy fix by widening the existing hole)

You will need a 7/16th drill bit or key hole drill bit.


Carefully drill out the existing hole so that the toggle switch can easily fit.


Put the toggle switch back into the grinder. 


The toggle should easily fit now.


Tighten the bolt to secure the new toggle switch in place.


Put the bottom plate back on the espresso grinder.


Now you have reassembled the grinder with a great alternative to the faulty timer switch.
New toggle switch operates just fine.
Thank you for visiting my blog... 
Stay tuned for more tips and tricks.

Coffee Art n More

Wednesday, October 26, 2016

Coffee filters

I decided to pull out one of those manual coffee brewing system that my 80-year-old aunt has been using for 6 decades.  This wise woman had no idea how hip she was; but she has known for years that coffee tastes much better when brewed one cup at a time.


I called my favorite charitable organization to pick up my old electric coffee brewer along with all the other items in my cabinet that prevented the door from closing. That ole' Bunn coffee brewer never heated the water to the proper temperature.  Then, low and behold, in the dark recesses of my highly organized pantry, I find a 1000 paper coffee filters.

Those filters could last three years if I drink 1-2 cups of coffee a day.  


Do this:

Fold filter in half.

Fold filter in half again.

Dig out your V-60 dripper and open one section of the filter.

Grind coffee (20 grams or 2 tbls) to your favorite setting (I use fine), pour in to filter

Pre-infuse coffee with 20-30g hot water for about 30-45 seconds (or more depending on how strong you want your coffee) then pour the remaining 260-270g of water over the coffee grounds. This could take up to 3 minutes.

Perfect cup every time.

List of supplies and ingredients:
  • carafe that will hold up to 500 ml of water (something that will tolerate heat)
  • paper filter (or paperless filter)
  • V-60 dripper
  • timer and gram scale (important for consistency)
  • hot water (195º - 205º)
  • freshly roasted and ground coffee (set grinder on auto drip or fine)

Standard 10 oz / 295 ml coffee mug (double amounts for two mugs). Some of the water will stay in the grounds, so, don't worry about it being too much. 
  • 20g freshly ground coffee
  • 300g water 

Weigh your coffee beans before grinding (coffee stays fresher as whole bean).
Pre-infuse your coffee grounds; Pour 20-30g of very hot water on the coffee grounds to help the brewing process start. 

Once 30-45 seconds have passed start to pour the remaining hot water over the coffee grounds. As the water drains into your carafe, warm up your favorite mug by pouring hot water into the mug. 

Pour the hot water out of your mug and pour the coffee from the carafe to your mug.  Enjoy your coffee as is or with a bit of cream.  Want to sweeten your coffee try Mix.  Add a piece of gluten free sweet bread, not only is your coffee perfect, your day is perfect.

Coffee Art n More