This is not the first time the dial had to be replaced and if you are reading this you know that the cost of replacement is too high for more than once. $82 bucks is just too much.
 |
| Mazzer Espresso Grinder Timer |
 |


you will remove each quick connect sleeve
place each sleeve on the corresponding connections
place each sleeve on the corresponding connections

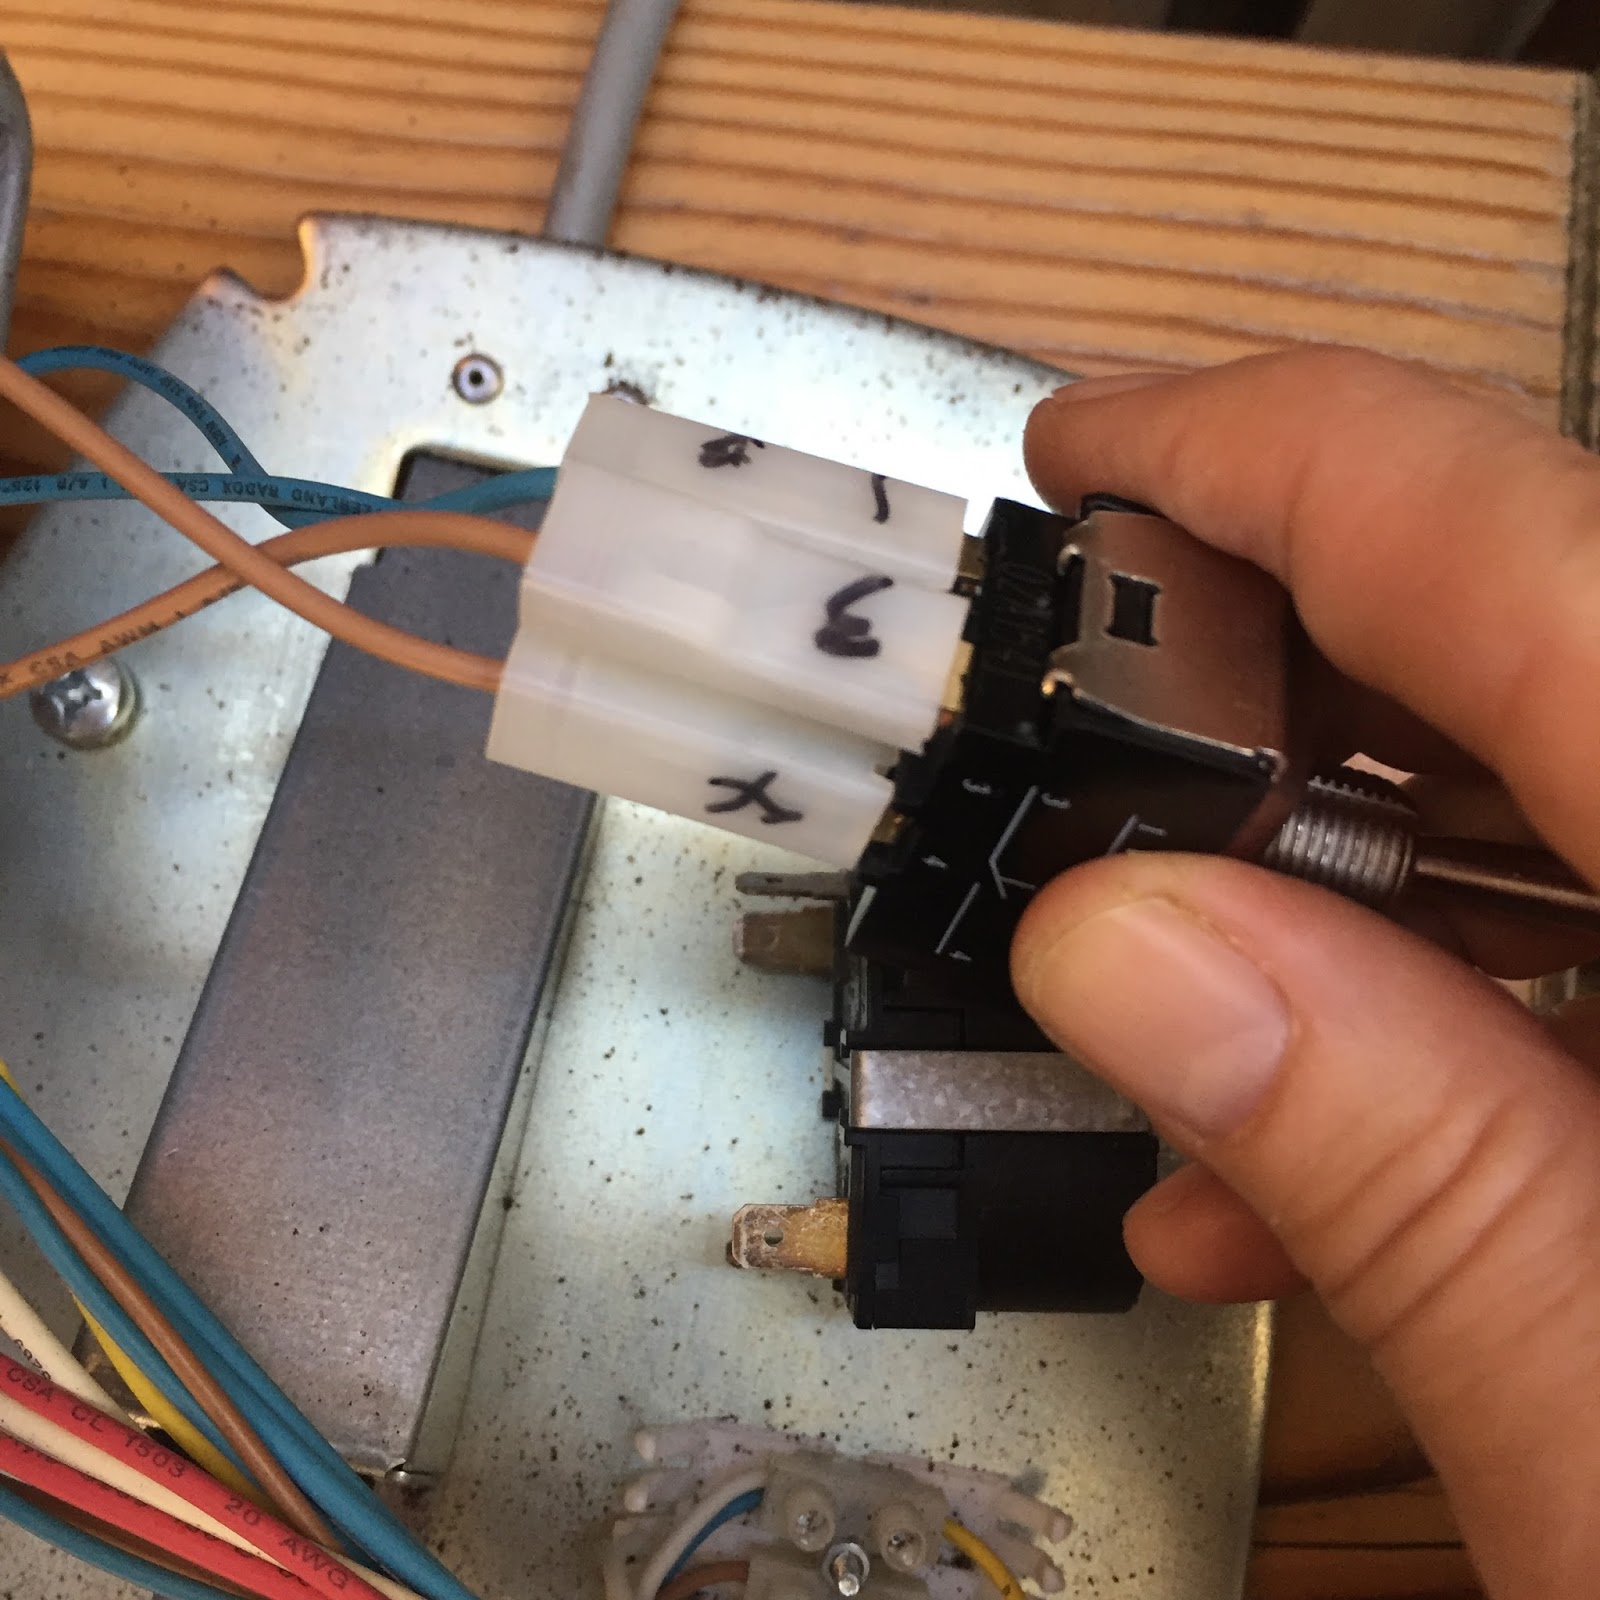
All quick connect sleeves should be on the new toggle switch now.


You will need a 7/16th drill bit or key hole drill bit.

Carefully drill out the existing hole so that the toggle switch can easily fit.

Put the toggle switch back into the grinder.

The toggle should easily fit now.

Tighten the bolt to secure the new toggle switch in place.

Put the bottom plate back on the espresso grinder.

Now you have reassembled the grinder with a great alternative to the faulty timer switch.
 |
| New toggle switch operates just fine. |
Thank you for visiting my blog...
Stay tuned for more tips and tricks.
Coffee Art n More
Coffee Art n More

6 comments:
Hey thanks for the great post! I had my timer switch go out on my Super Jolly and also thought it ridiculous to pay almost $90 for a timer switch. Found your page searching for something about changing to a flip switch, followed your directions step by step, and it works perfectly. Now I'm going to convert our other one!
That's fantastic. I'm so glad it worked out for you. Frugality in business will carry you when the tourist go home;)
Will this same on/off switch work on a 220V Mazzer Super Jolly, or would I need to find a switch designed for the higher voltage? Thank you, and thanks for this how-to page.
Hey Clawhead, I am not sure, however, I would disconnect the switch (remember to number the connections on the switch and the machine) and then I would take the current switch to the electric supply store nearest you. Ask one of the customer service reps for a switch that will cover your needs. Let me know how it works out. (deleted and then reposted)
Thanks, CAnM. If I go with this modification, I'll post here. For now, I'm using the slightly gimpy timer as an on-off switch.
I went with a 250VAC 15A (same rating as the original) DPST switch and it worked a charm. I had to use a different brand as I’m from Europe.
https://www.switchelectronics.co.uk/on-off-dpst-toggle-switch-250v-ac-15a
For me my switch was 12mm diameter hole and I also used the same drill bit and took a little wiggle and time but got it extended fine.
Worked a treat. Highly recommend. Ensure your switch has isolated terminals for 2 circuits to be turned on (DPST).
We rotated our switch 90 degrees to be towards and away for on/off rather than up/down.
Post a Comment